In an acupuncture treatment I will use additional tools along with my traditional acupuncture needles, incorporating Acupressure, Cupping or GuaSha into an acupuncture treatment when necessary. If cupping has been helpful to a patient’s condition, I will often recommend for them to do this treatment at home, individually or with a partner. Providing my patients with education and resources for at home therapy and offering guidance for proper procedure will produce optimal results with little to no adverse effects. Cupping therapy can be performed at home with little training, yet one should educate themselves on the benefits, the conditions that can be treated, the contraindications to treatment & the procedure itself.
Cupping
Cupping is an ancient manual technique using suction or negative pressure, rather than the traditional tissue compression used with a regular massage technique. The suction stretches the tissues up from the underlying structures therefore releasing muscle tension, loosening areas of adhesion or restriction. This creates an expansion of the tissues-increasing blood flow, promoting better functioning of sweat and sebaceous glands, flushing capillary beds, dispelling stagnation/congestion, draining stagnant blood, toxins and lymph, and re-supplying vital nutrients.

Benefits of cupping
Cupping is a valuable form of treatment to detoxify the body, stimulate the lymphatic and nervous systems, and promote healing of the tissues, organs & structures. The suction created by cupping pulls stagnant fluids to the surface, removes toxic pathogens and promotes fresh oxygenated, nutrient rich blood & lymph.
- Release muscle tension
- Loosens adhesions
- Stretches muscle & connective tissue
- Reduces joint pain, stiffness & arthritis
- Relieves inflammation
- Moves stagnation & drains fluids
- Strengthens Immune system
- Promotes lymphatic flow
- Calms the nervous system
- Reduces Fever
- Treats stress, depression & anxiety
- Breaks up & expels congestion
Common conditions treated with cupping
- Muscle tension/pain/cramps/spasms
- Tingling/numbness
- Adhesions/scar tissue
- Post injury trauma
- Joint stiffness
- ROM limitations
- Headaches, jaw pain
- Gastrointestinal disorders, chronic constipation
- Sleep issues, insomnia
- Lung/respiratory conditions, asthma, cold/flu symptoms
- Emotional imbalance such as anxiety/depression
- Gynecological disorders
Contraindications for Cupping
Cupping is contraindicated in cases of severe diseases, i.e. cardiac failure, renal failure, ascites due to hepato-cirrhosis and severe edema, as well as hemorrhagic diseases such as allergic purpura, hemophilia and leukemia, and clients with dermatosis, destruction of skin, or allergic dermatitis.
Cupping should not be applied on the portion where hernia exists or has occurred in the past.
Cupping should not be applied over broken bones, dislocations, hernias, slipped discs, organ failure, and is not appropriate for those undergoing cancer therapy.
Cupping should not be performed on affected areas during the acute stages of Psoriasis, Eczema or Rosacea.
Cupping should not be applied on effected areas during outbreaks of Urticaria (Hives), Herpes or Shingles.
Cupping is contraindicated for those with liver or kidney functional illness, Cardiopathy, 3D Varicosities or over recent surgical incisions.
Cupping should not be performed on those with a high fever, convulsions or easy bleeding.
Cupping is contraindicated during pregnancy on the low back and abdominal areas.
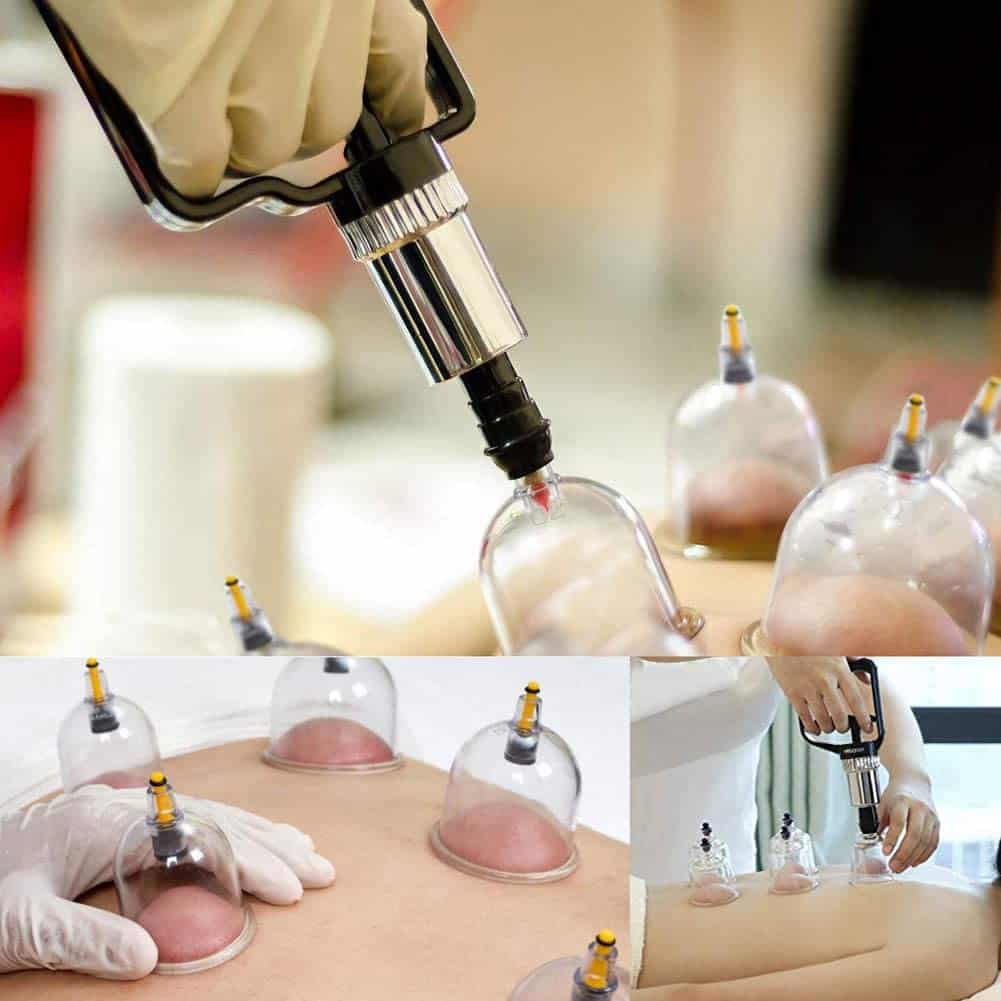
Cupping Application & Procedure
1) It is recommended to apply a small amount of lubricating salve or oil to the skin to avoid discomfort. Medicated oils or salves can also help open up the tissues and move the stagnant blood/fluids.
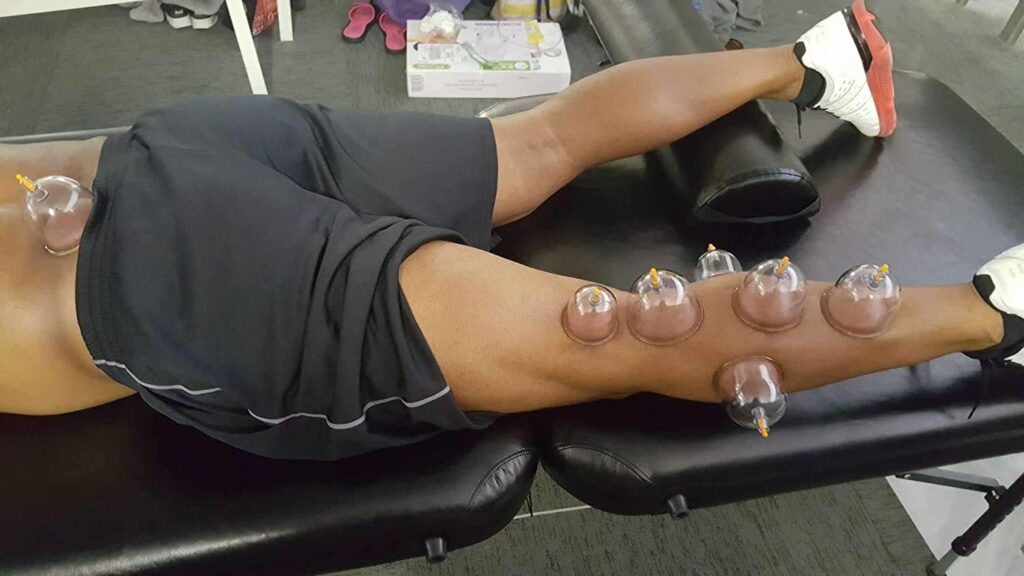
2) Suction is applied to the tissue of the receiver using plastic cups with a manual hand pump to control the amount of suction.
3) Place the cups over fleshy areas of increased tension & pain. The cups can be placed over bony structures such as the spine, ribs, shoulder or scapula with caution.
4) Squeeze the hand pump between 2 to 7 times and when performing on a partner always check in with the receiver to get feedback on their comfort level with the location and amount of suction.
5) Static Cupping: The cups can be left stationary/static for 5 to 15 minutes.
6) Moving Cupping: If not too uncomfortable for the receiver, the cups can be moved over an area for 5 to 20 minutes. Pull the cup back and forth to facilitate a moving or gliding cupping massage. When performing moving cupping, remember to use your other hand to anchor the tissue as you move the cup away from that anchored skin. Do not do moving cupping over body structures such as the spine.
7) When finished release the suction by pulling on the outlet at the top of the plastic cup or press down on the tissue at the rim of the cup, allowing air to leak into the cup and release the suction.
8) It is advisable to perform a light massage of the cupped tissue to move the fluids and energy through the area.
9) Keep the cupping marks covered, warm and avoid exposing them to sun, wind or cold.
10) Clean the cups with soap & warm water, then disinfect with 10% bleach solution.
Perform another cupping treatment 1x a week or every 2 weeks, and only after the cupping marks have faded. Here is a link to a cupping tutorial on youtube
The Cupping Marks
The most common misunderstanding regarding one of the most powerful and beneficial after effects of Cupping, is the marks that sometimes result. The vacuum formed by Cupping draws up the old non-circulating stagnant blood and sticky fluids, bringing them up to the surface allowing healthy circulation to be restored to the affected area, thus creating space for oxygen, living cells and nutrients for faster recovery.
Cupping can leave marks which indicate that stagnation has been moved from the deeper tissue layers to the surface where it can be eliminated through the circulatory & integumentary (skin) systems. The color and pattern of the marks depend on the level of stagnation in the area, and range from a bright pink to deep red & dark purple, usually lasting 3 days to a week or more – sometimes longer if the person is very sick or sedentary. If there is no stagnation present, there will be only a pink marking which disappears in a few minutes to a couple of hours.
The markings will lessen in intensity as the deeper issues are resolved and the stagnation and toxins have been dredged up and flushed out of the body through the circulatory system, expulsion from the pores and sweat. If the person receiving treatment sweats a lot on a daily basis – no marks may ever occur. Sweating is a great after treatment follow-up to help get rid of the toxins you’ve released.
Although the marks look painful, they are not. Receivers usually feel an immediate sense of relief that can last for a week or more.
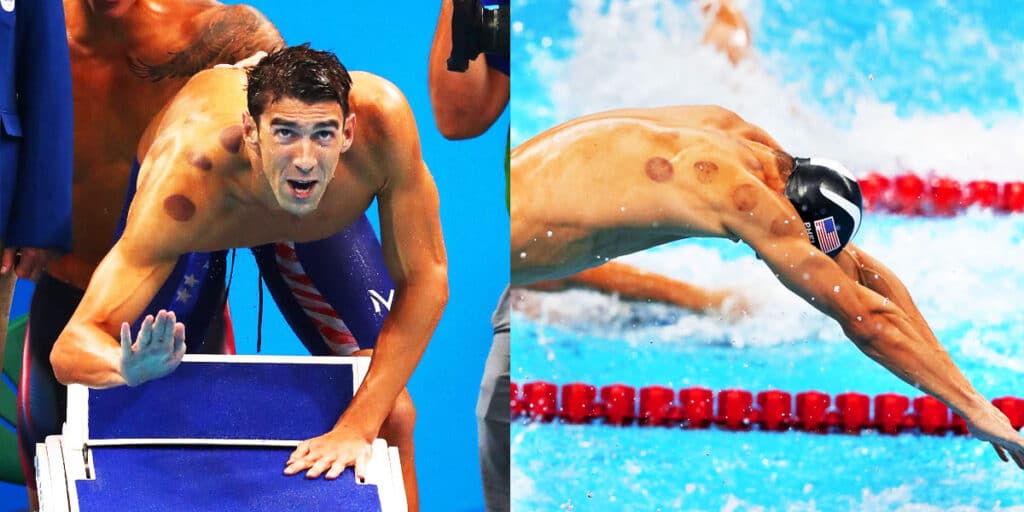
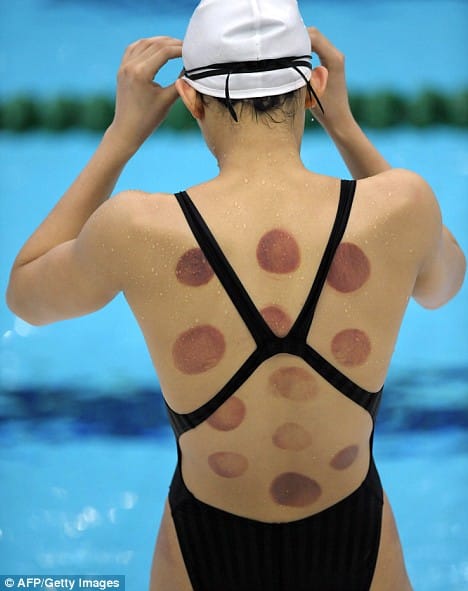
Cupping on Athletes at the Olympics
Frequency of Treatments
It is advisable to wait until the cupping marks from the previous treatment have faded before performing another cupping treatment. This can be several days to several weeks. The effects of cupping are cumulative and the treatment should be repeated until the condition or ailment is resolved. After several cupping treatments the severity of the marks will usually diminish with each follow up treatment, indicating that the stagnation in the tissues has decreased.
Self-Care After a Cupping Treatment
After treatment the patient is advised to keep the area protected from wind, cold and direct sun until the marks have faded. They are also encouraged to drink plenty of water and eat moderately.
Tools
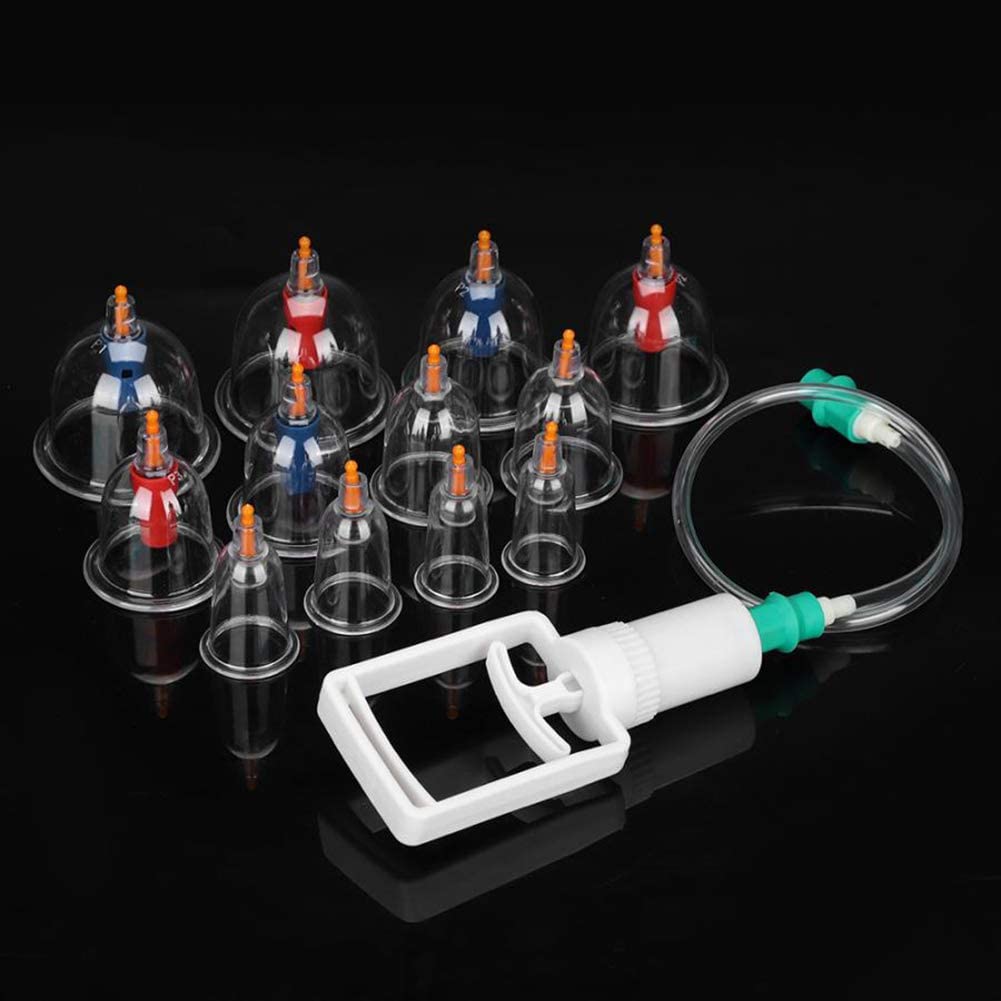
There are several different types of cups you can use. I recommend the plastic cups with a hand pump. You can purchase an inexpensive set of plastic cups from amazon.
There are many different oils or salves you could use to lubricate the skin for cupping. It is recommended to use an organic, non-petroleum product. You can use coconut, olive or sesame oil, although I prefer one that includes medicinal herbs for opening the tissues for pain relief such as Burt’s Bees Badger Balm.
Clean up
Always wash your cups/tools with warm soapy water, then soak them in a 10% bleach solution or use medical grade disinfectant wipes to assure cleanliness.


 My path to oriental medicine came through my experience with massage & bodywork. For over 20 years I have been studying and practicing massage therapy, but it was when I discovered Shiatsu (acupressure), that I realized there was something very powerful about Chinese Medicine…